Dynamic Content (News, Events, etc)
News Content
News content differs from a standard HTML content item in that it has no fixed position in the website. It appears only if the current time is past the publish date, before the expiry date and its categorisation matches the categories assigned for that specific region of the site.
To create a news item
- Click on the CONTENT tab
- Using the site tree (on the left side of the screen), select NEWS and the NEWS ADMINISTRATION page will appear.
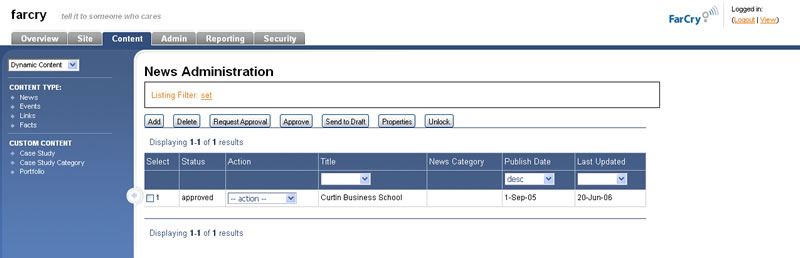
- Click on the ADD button. The News items wizard should now be displayed.
- Give the news item a title in the TITLE field.
- Set the NEWS CATEGORY if applicable
- Select the PUBLISH DATE you would like to the news item to go live and also an EXPIRY DATE if applicable.
- Once all fields on this page are complete click NEXT.

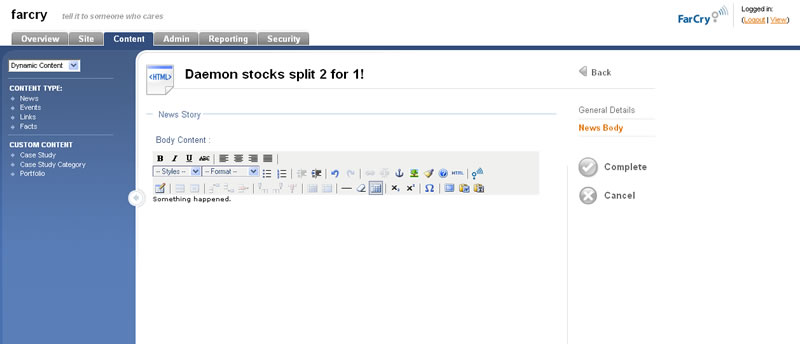
- Enter the BODY CONTENT for this news item including the formatting required.
Note
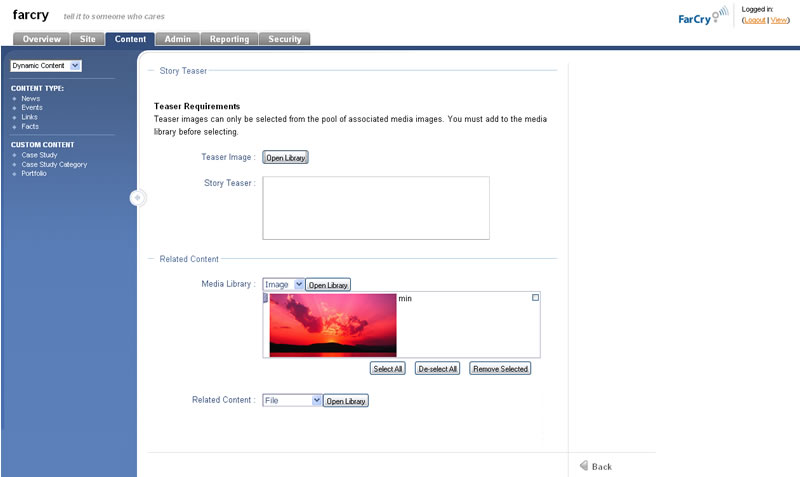
External images and links can be added immediately through the Rich Text Editor, however content from the Media Library must first be associated to the news story in the RELATED CONTENT section below.
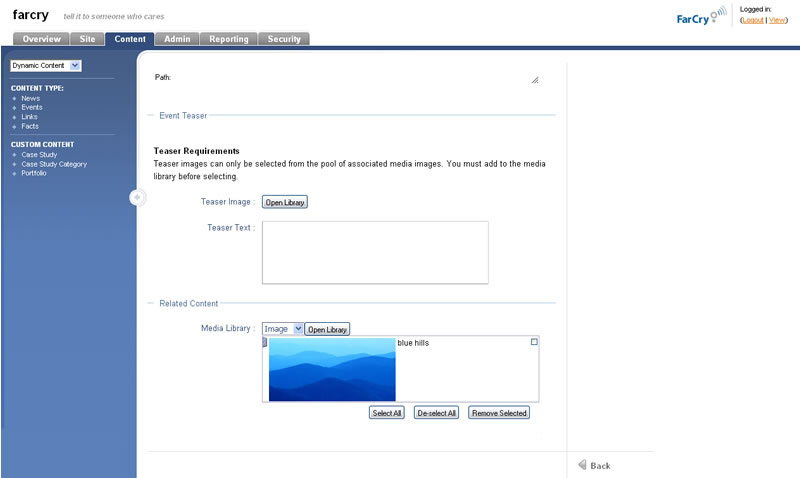
- Enter text and add an associated image from the library in the STORY TEASER area if applicable.
- Images and other RELATED CONTENT can be associated to the news item by accessing the relevant library and dragging the item into the "selected" tray. Once there, it can be added to the news story above.
- Click COMPLETE to finish.
Event Content
Event content is very similar to News content. Events have extra fields specific to events, such as event start and end dates. Also the way in which events are displayed is slightly different; for example people normally want to list events by event start date as opposed to publish date.
To create an event:
- Click on the CONTENT tab
- Using the site tree (on the left side of the screen), select EVENT and the EVENT ADMINISTRATION page will appear.
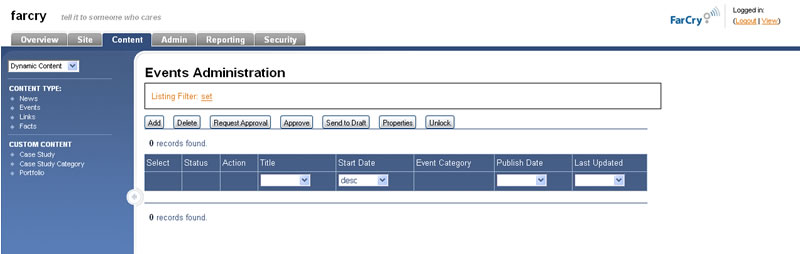
- Click on the ADD button. The EVENTS wizard should now be displayed.
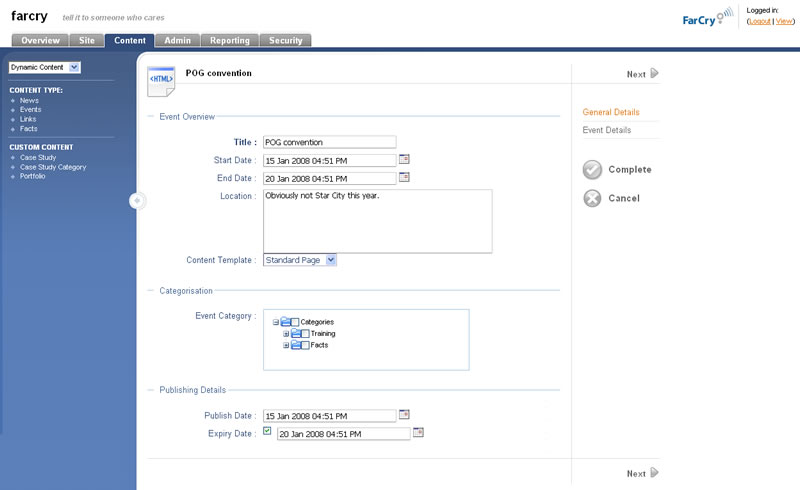
- Give the event a title in the TITLE field.
- Select the START and END DATES for the event and add the location.
- Set the EVENT CATEGORY if applicable.
- Select the PUBLISH DATE you would like to the event to go live and also an EXPIRY DATE if applicable.
- Once all the fields on this page are complete click NEXT.
- Enter the body text for this event including the formatting required
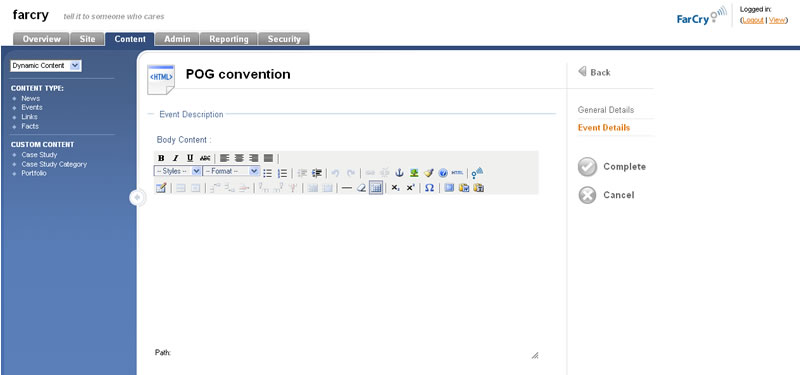
Note
External images and links can be added immediately through the Rich Text Editor, however content from the Media Library must first be associated to the event in the RELATED CONTENT section below.
- Enter text and add an associated image from the library in the STORY TEASER area if applicable.
- Images and other RELATED CONTENT can be associated to the news item by accessing the relevant library and dragging the item into the "selected" tray. Once there, it can be added to the news story above.
- Click COMPLETE to finish.